Ikea Hack // Kid's Play Kitchen
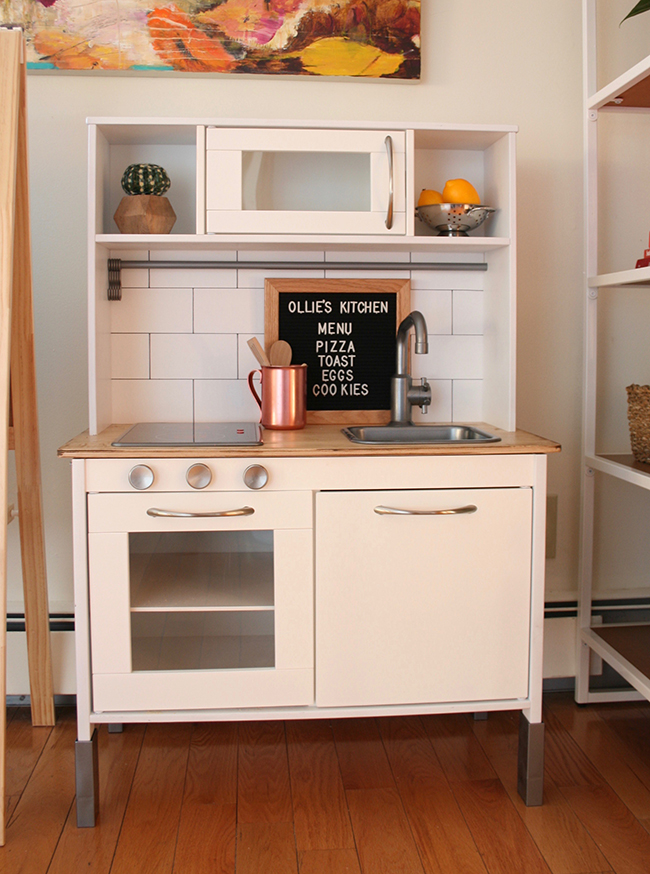
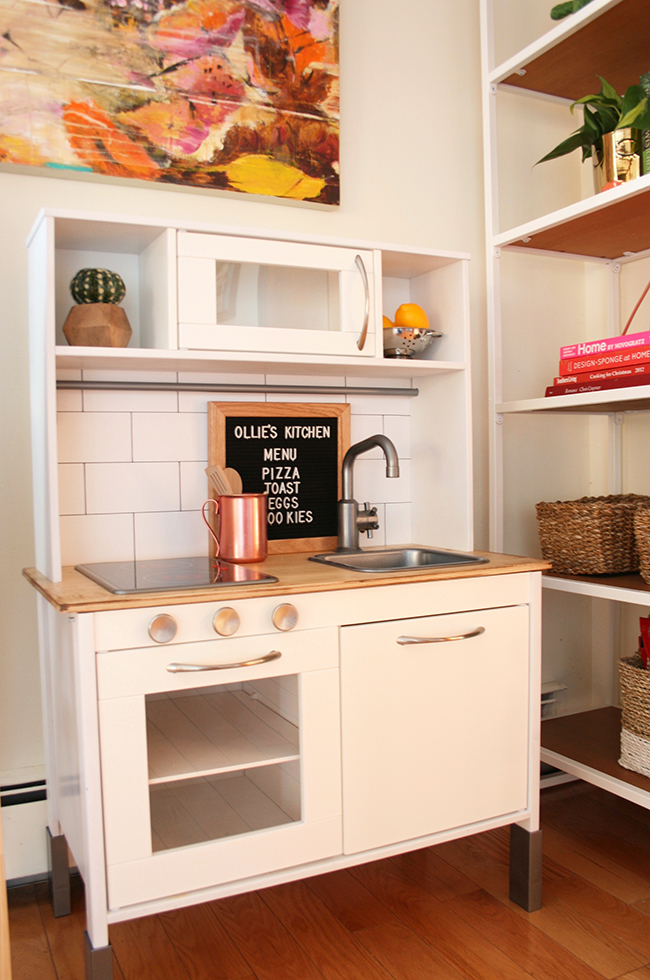
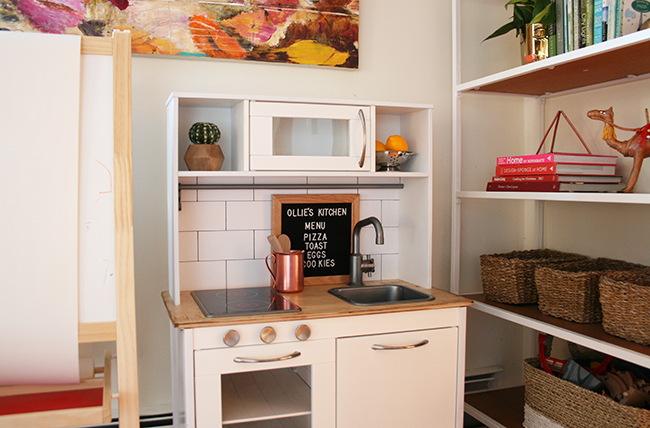
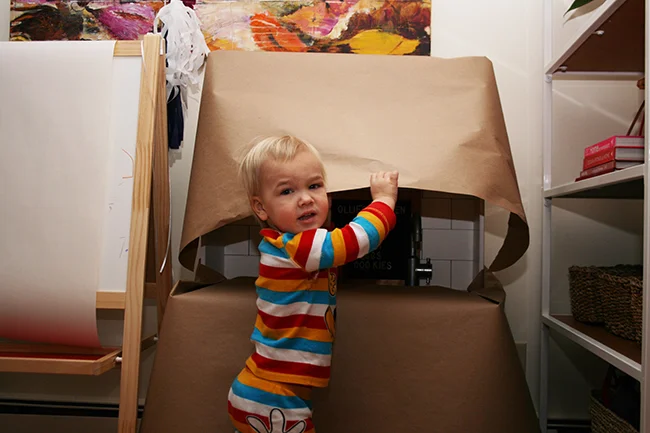
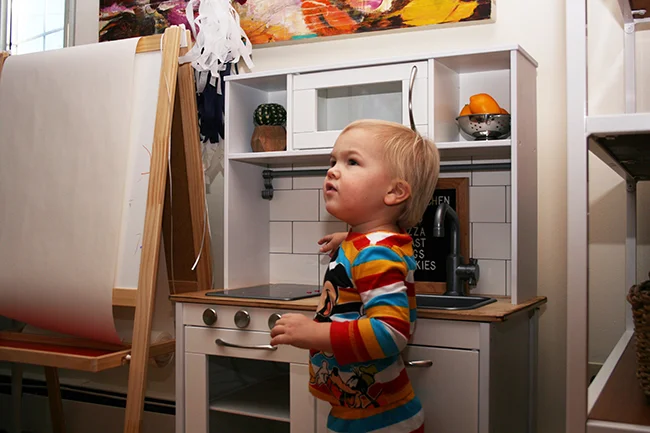
Oliver turned 2 last week! If you haven't been following along, we celebrated in Disney World! More to come on that, but before we left we gave the birthday boy his gift, a play kitchen. Every time we've gone to a friend's who has one, he runs right to it. He also tells me literally everyday that he makes pizza in the kitchen at school, plus if you ever look at my Instagram stories, you will know he loves to help momma make dinner and bake cakes. I knew I wanted to get him one for his birthday, and I knew it had to be a special one. So I called in the DIY guns to hack the Ikea Duktig kid's play kitchen and styled it out with a few lovely details, including this felt letter menu. Keep reading to find out exactly what I did and to see adorable photos of Ollie opening his present.
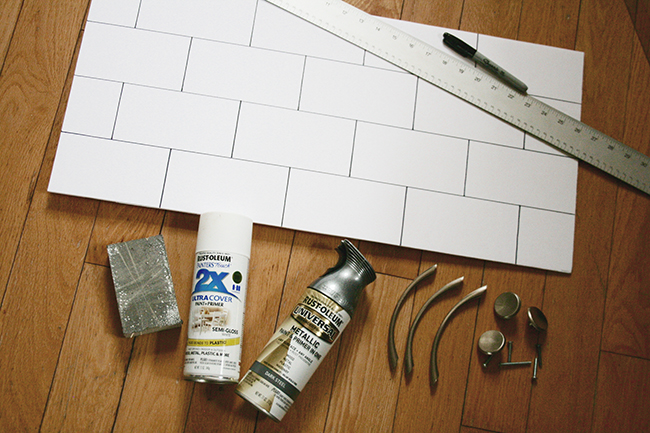
SUPPLIES
- White Semi Gloss spray paint
- 3 drawer pulls - 5 inch spread, I used these
- 3 knobs
- 6 bolts - 3/8", 1" long (the bolts that come with the knobs are too long)
- foam board
- sharpie
- ruler
- metallic spray paint
- staple gun
- sanding block
- pre-stain
- Stain - I used MinWax Poly Shades, Mission Oak
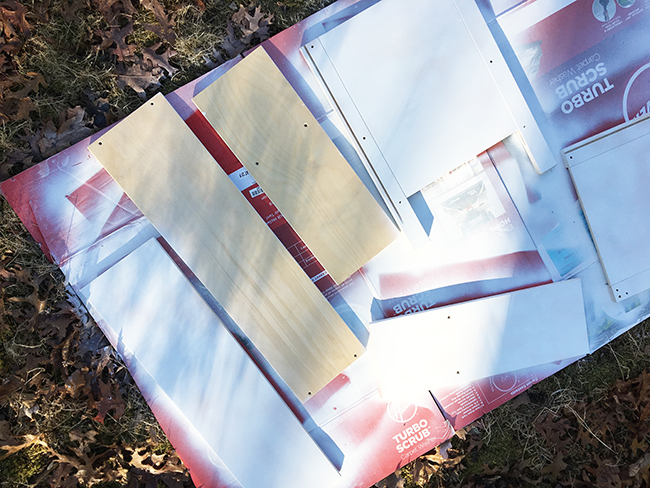
Before assembly, spray paint the the base and shelf pieces. All pieces that are not already white, except for the counter top.
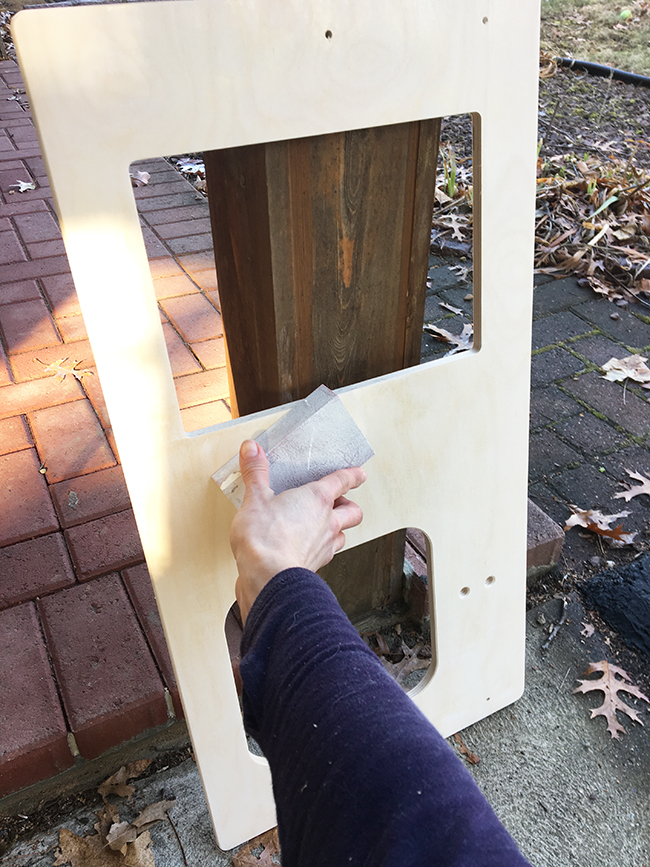
I sanded, pre-stained and stained the counter top to make it a few shades darker
The subway tile backsplash is actually foam board with sharpie drawn tiles! I was planning something much more complicated, but I had these supplies and it looks just as good as what I was thinking.
Once you assemble, replace the plastic handles with the metal ones, using the extra bolts (not the ones that come with the knobs).
Drill three holes under the stove to add the knobs.
Style with charm!

