DIY Upholstered Bench
Today I’m excited to share the first of many DIY projects in our new home. The best news is that this project is really easy, I’m not exaggerating when I say that it took me about an hour to make this bench. Except for the batting I had all the supplies on hand. I even used the legs from a disassembled coffee table I made many moons ago for my New York City apartment. Chances are, if you’re not a borderline hoarder, like me, you may need to pick up a few items, but even for a novice, this project can be completed in an afternoon.


SUPPLIES:
two pieces of 3/4” plywood mine were 13” x 39” (think I had a scrap piece that size)
scissors
screws - 1 3/8”
drill
Step 1: Cut your two pieces of wood to size and sand the edges.

Step 2: Layout the batting and cut to size of top of bench. You will only be using one piece of plywood for the next few steps.

Step 3: Staple down the batting.

Step 4: Cut the fabric to the size of bench, plus about a 3” border around the edges.

Step 5: Staple the fabric to the bottom of the plywood.

Step 6: Trim extra fabric at corners and tuck in to achieve the cleanest possible fold at the corners.


Step 7: Layer second piece of plywood on top of the upholstered piece, sandwiching the stapled fabric. Drill in about one screw in the center of each of the four sides.

Step 8. Add the legs.

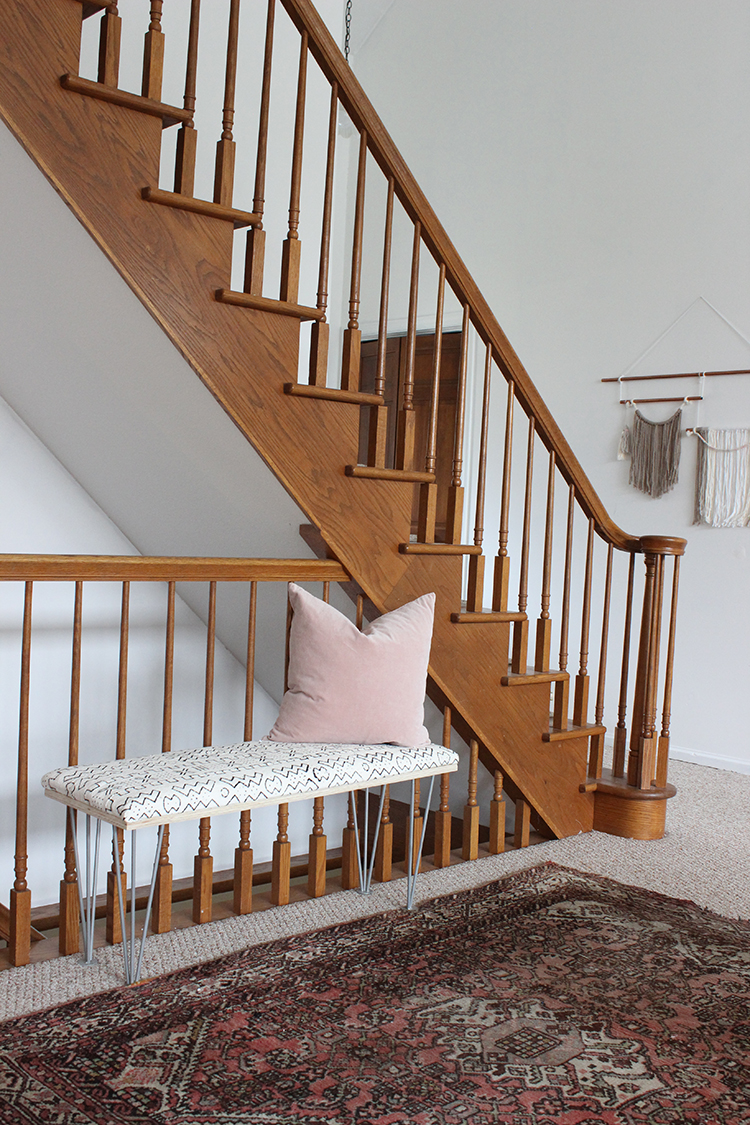
And that’s it! You can even have them cut the plywood to size at your hardware store. This project is super easy, minimal mess and no staining, so no harsh odors. I just love the little touch this piece adds to our staircase wall!

SHOP THE POST
