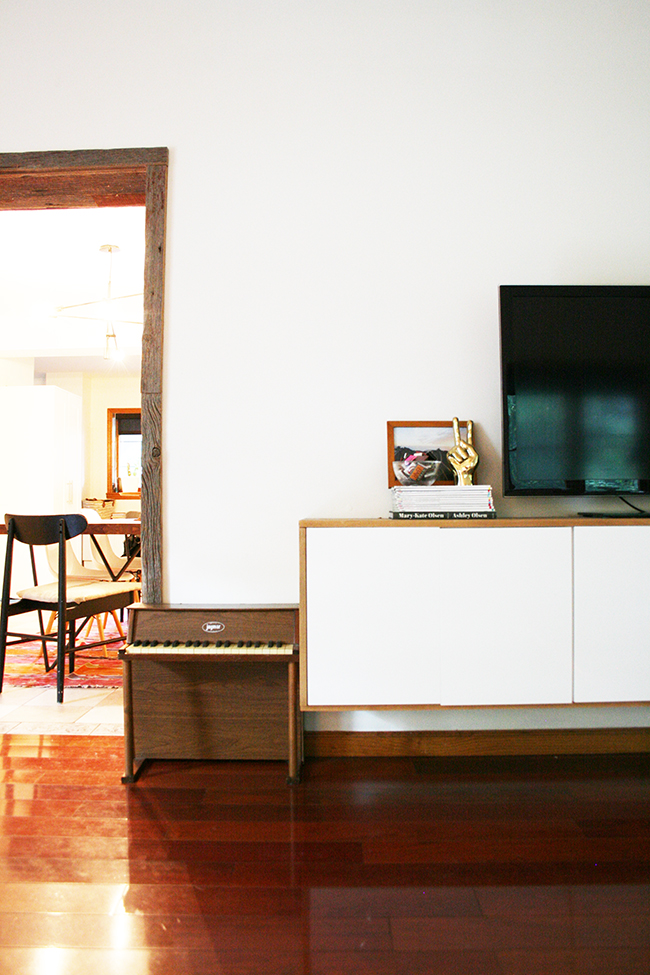
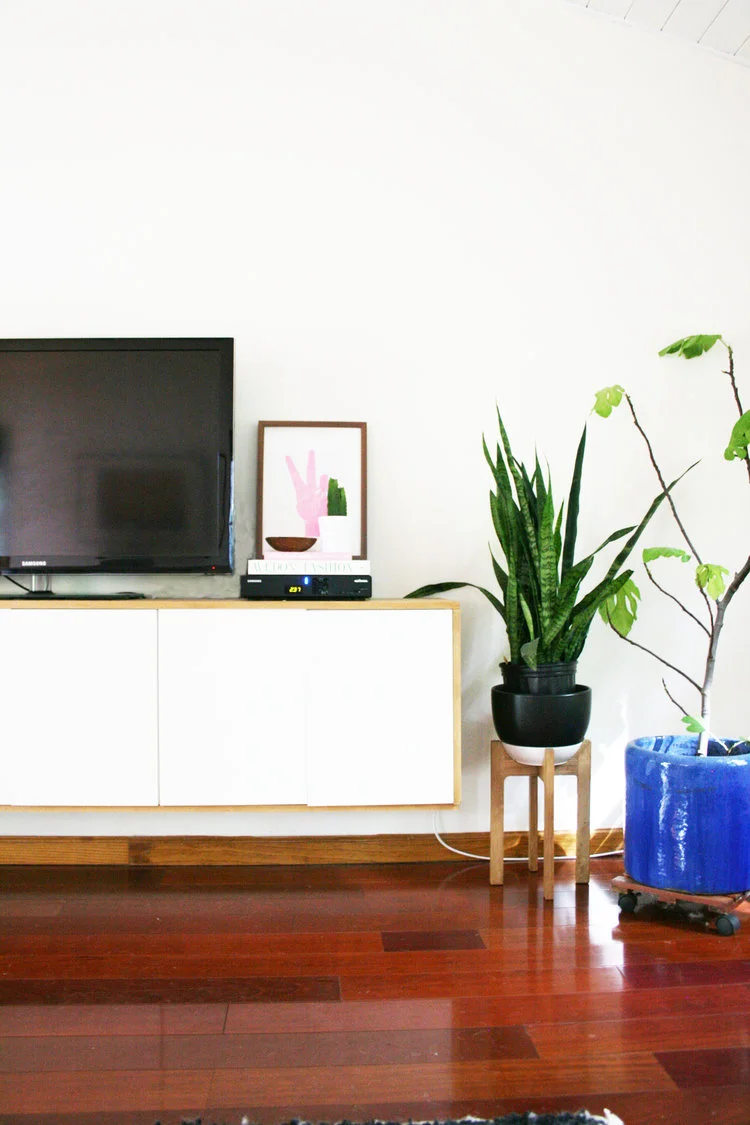
Ikea Hack // Fauxdenza
I know I know this isn't a unique project, but it's one I've wanted to do for so long! Many of the other media stations I actually liked were upwards of $1000, and this DIY cost about $300. I love the clean look of the streamlined entertainment center. Most of the other tutorials I found don't go the extra step and finish trimming off the bottom of the piece with a wood panel, but I really think it looks much more finished when framed out entirely. Hope you're inspired to make an Ikea run this weekend!!
Supplies:
- Ikea Cabinets - I used 3 - 30" x 20"
- plywood - I used birch
- plywood edge tape
- wood glue
- stain - I used Mission Oak
Tools:
Step 1: Assemble the cabinets.
Step 2. cut a hole in the back of the cabinet for the outlet.
Step 3. Hang cabinets. This step, I actually had help with, my father-in-law lent a hand in following the Ikea directions and installing.
Step 4. prepare the trim of the fauxdenza. I had them cut the plywood for me at Home Depot. Four pieces:
Top - the length of the cabinets plus 1 5/8" to cover the side panels, and depth of the cabinets, with doors, plus about 1/4" - (for ours 91 5/8" x 15 3/8")
Bottom - the length of the cabinets plus 1 5/8" to cover the side panels, and depth of the cabinets without the doors, MINUS about 1" to leave room for cords. Note - the bottom panel cannot be under doors, or you will not be able to open - (for ours 91 5/8" x 14")
Sides, cut 2 - depth of the cabinets with doors plus 1/2" (same as top piece), height of cabinets - (for ours 20" x 15 3/8")
Step 4: Follow the instructions to add the plywood edge tape on three sides for the top and bottom panels and just one long side on each of the side panels.
Step 5. Sand and stain the trim.
Step 6. install the trim. Start with the side panels, use wood glue and the brad nailer to attach to sides of cabinets. Line up with top and front of cabinet.
Next install the top panel, and secure in place with wood glue and the brad nailer. Line up with front of cabinet and edge of side panels.
Finally grab a partner to hold the bottom panel in place and generously use the brad nailer to secure. Line up with side panels and cabinet body (not doors).
Step 7. Drill a hole in the top of the cabinet with 1 1/2" bit, for the wires to feed through.
Step 8. Style and enjoy!


