Ikea Hack // Mid-Century Dresser
Our upstairs hallway bath is one of the first major remodel projects I want to tackle down the road. Eventually I hope to add a shower and make it more functional as a kids bath. But for now, I changed out the mirror, and painted over the horrid gold color that was on the wall with some navy paint I actually had left over from our apartment in the city. The bathroom is pretty small, but it was also completely empty, so I decided it needed a little dresser, but since this room is used so rarely, I didn't want to spend a lot of money. Enter this week's edition of #kosterhouse Ikea Hacks!
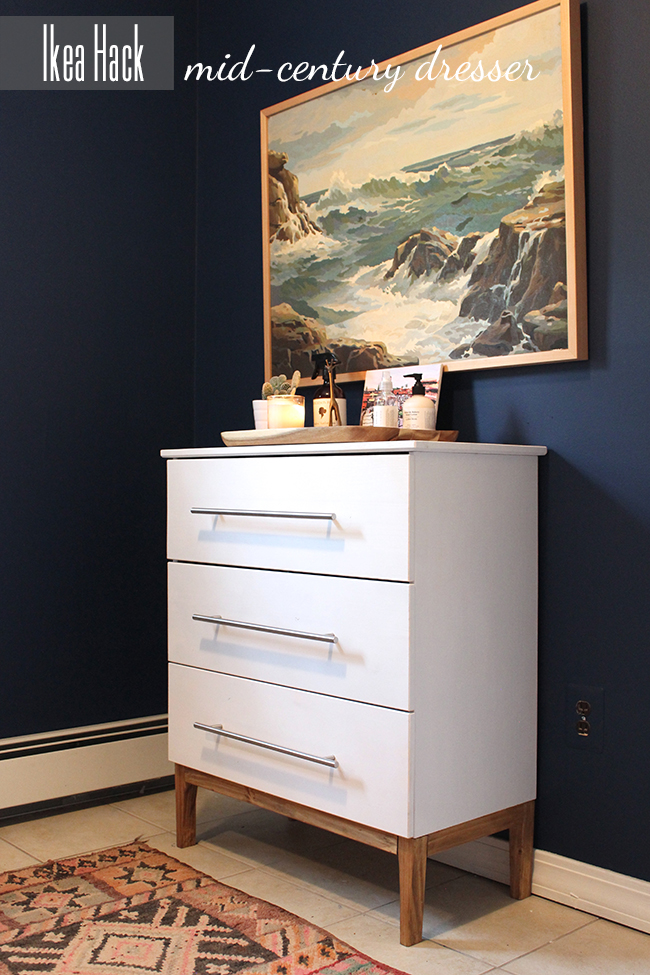
I just loved what Sarah Sherman Samuel did with her Tarva dresser for her son's nursery. I took that idea and put my own spin on it for our little hallway bathroom. I opted for the smaller, three drawer model. Like Sarah, I painted, shaped the legs and changed out the hardware. Keep reading to get the step by step.

MATERIALS:
- Tarva Dresser
- white glossy spray paint
- Lansa Drawer Pulls - 13 9/16"
- Minwax Pre-stain
- Minwax Polyshades (I used both Pecan and Mission Oak)
- sand paper
- saw (I used this one)
STEP 1: Assemble the dresser, but do not add the base, the legs or the knobs.
STEP 2: Fill the knob holes with spackling. Let dry, then sand smooth.
STEP 3: Spray paint the body and drawers. I recommend taping off the insides to keep them looking nice. You will probably need a couple coats.
STEP 4: measure and drill for your new wider pulls.
STEP 4: Cut the legs on an angle. I used a miter saw, but my blade wasn't big enough for a smooth cut. I worked, but I don't think it's the best tool for this job.

STEP 5: Pre-stain/Stain the legs and base.

STEP 6: Finish assembly.