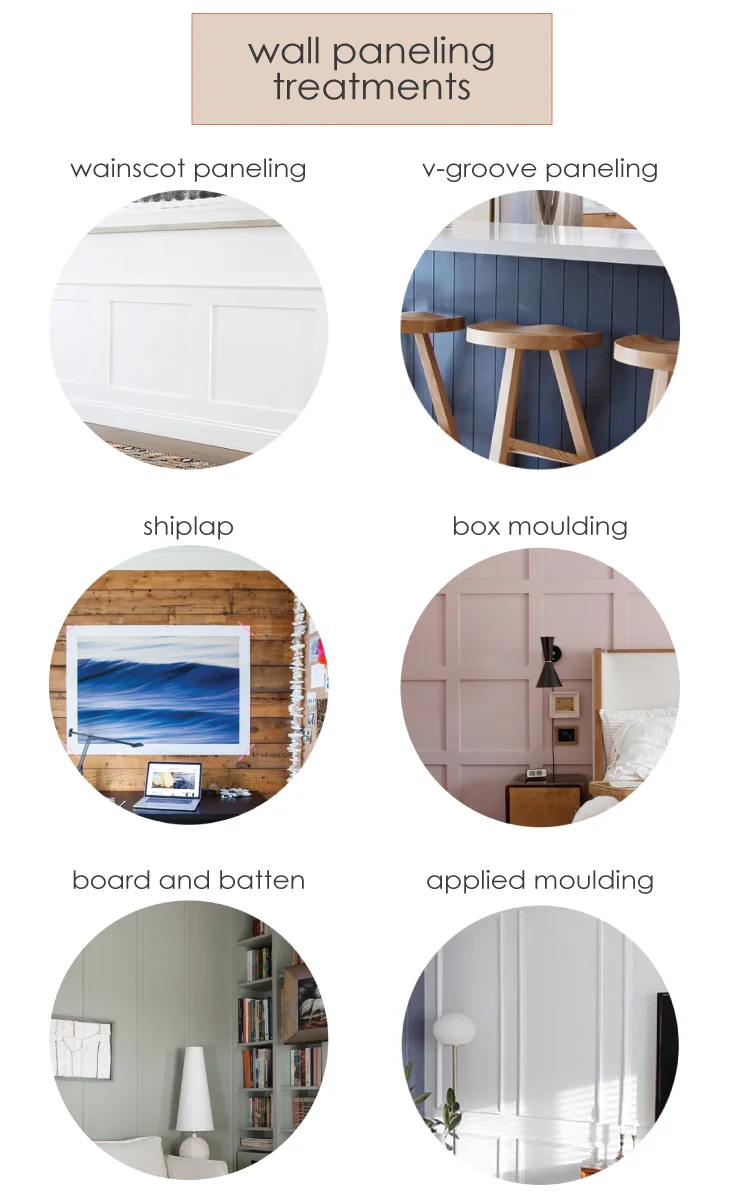
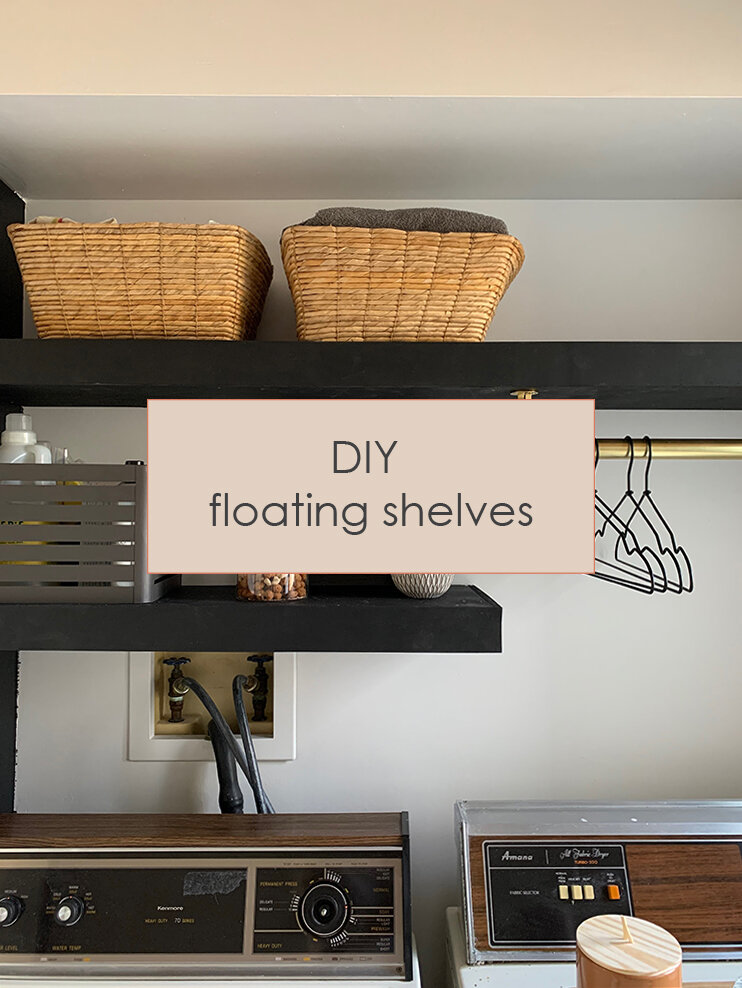
DIY Floating Shelves
Last week I shared my finished laundry room. You guys gave me so much positive feedback! Thank you so much! I couldn’t be happier when I look into this little corner of my home. The slatted ceiling is the show stopper of this room, but was actually a last minute decision. The element that held up this project was the floating shelves. After all the projects I’ve tackled and furniture I’ve built, floating shelves intimidated me. Because I didn’t want to compromise on the design or layout of these shelves, they had to be custom. And, since it was a budget project I had to tackle them myself. I documented my process to share it with you here. Turns out, building floating shelves isn’t as bad as I’d thought it’d be.
SUPPLIES
black paint - Behr Carbon
STEP 1. - Cut 2x2 the length of the shelf. You’ll need to subtract 1/2”, the width of the plywood if the end isn’t butting against the wall, like the right side of the bottom shelf.
STEP 2. - Before you hang the back brace on the wall, use the 3 1/2"” screws to attach the perpendicular post to the braces against the wall. Be sure the posts are level to the back brace.
STEP 3 - Find and mark studs.
STEP 4 - Attach the back brace (with posts to the wall at studs, or using anchors. Attach side supports to the wall at studs.

STEP 5 - Cut top and bottom of shelves to fit across back and side braces. Total depth will be 1/2” grater than this measurement.
STEP 6 - Cut front piece, total length of the shelf by 2 1/2” (the width of the 2x2 plus top and bottom layers of plywood)

STEP 7 - Paint or stain the outside of the shelves.


STEP 8 - Attach outside shelves to the braces with brad nailer
STEP 9 - Attach the face with brad nailer
STEP 10 - Fill nails with wood putty and touch up


SHOP THE POST