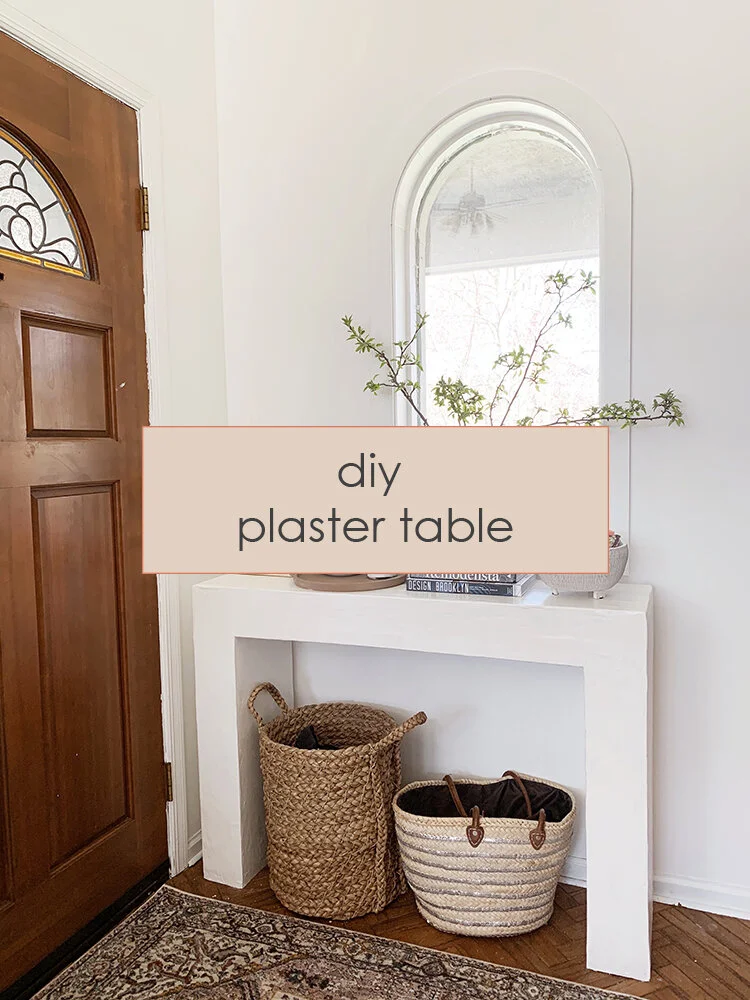
DIY Plaster Table
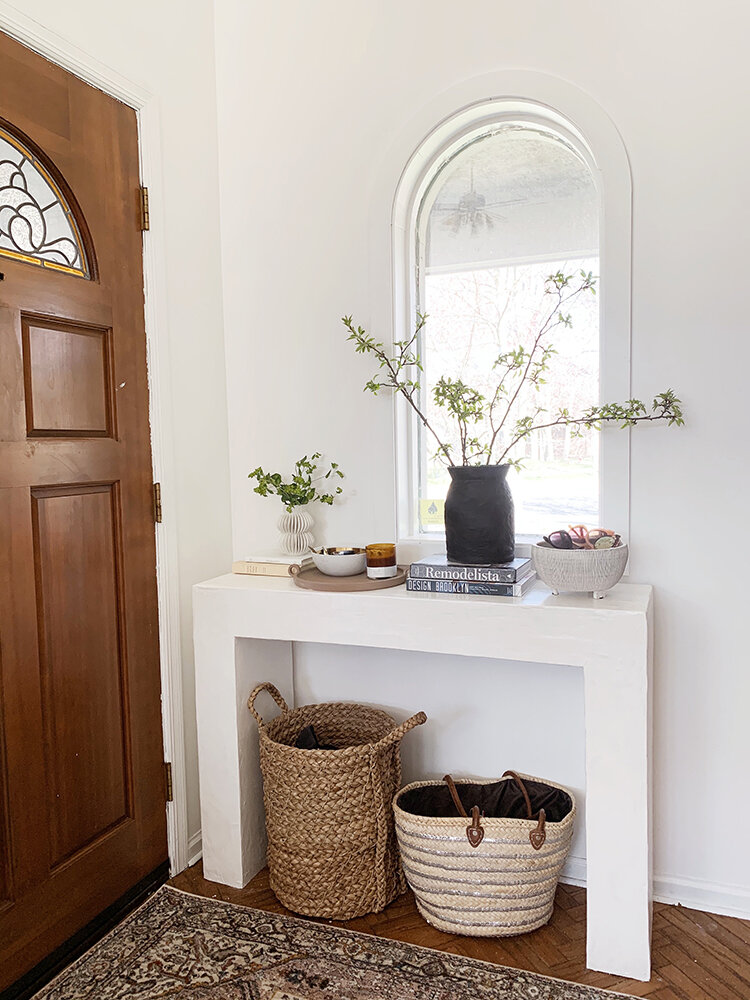
I am obsessed with how this DIY/weekend make-over turned out! My entry way has been on my list for quite some time. I finally pulled the trigger and went for it. I teamed up with a few instagram friends to do a fun weekend refresh challenge. I love how these little silly things can motivate you to move on something you’ve been dragging your feet on for so long.
I started by shopping around for a new, chunky, expensive-looking, but not actually expensive waterfall table, and everything I liked was way more than I wanted to spend. I had it in the back of my mind to play around with plaster or concrete. I inventoried what materials I had on hand, and found I had enough wood to create the base I designed. I only needed the plaster, so after spending under $15, this is what I came up with!
I did a little research on plaster vs. concrete vs. roman clay. I looked around for a tutorial similar to this and I nothing turned up. A few DIY friends - @brimoysa and @brepurposed have used roman clay on projects recently, but the specific brand they used didn’t seem readily available and I wanted to get started right away. I stumbled across a tutorial @JennyKomenda did to make over a lamp using plaster of paris, which I knew I could grab at any hardware store. After watching several YouTube tutorials I was ready to give it a shot.
Here is what the entry space looked like before.
BEFORE
SUPPLIES
3/4” plywood - this is the quality I usually use, but you could even go a step lower since it will be covered
2x4s - I used about 3- 8ft boards
sander + sand paper
plaster of paris (I used about 1 1/2 4lb cartons)
paint brush
bucket for plaster - I recomend having several large disposable plastic containers
bucket with clean water
1. Follow the below plan to cut wood or have it cut at the hardware store. It’s best to cut the widths on a table saw so they are very even. Assemble wood table frame.
note: I built this table to fit my exact space, you could definitely tweak the dimensions to fit your space.
2. use drywall tape and spackling to cover seams and screws. Once dry, sand spakling down to make as smooth and seamless as possible.
3. Once the base is as seamless as possible, mix your first batch of plaster. I mixed in a disposable (old Folgers) container. I wish I used a measuring utensil, so I could give an easy reference, but sadly I just used trial and error. I mixed to about the consistency of thick pancake batter. It dries really fast, 6 to 10 minutes, so be ready to work immediately. I used a putty knife to start spreading. My goal was to make it even and get some sort of a consistent texture, so once you find a stroke that’s working for you, go with it. I spread plaster in half circles. As you spread, use a clean wet paint brush to smooth as you go.
The first coat did not come out all that even, you can see in the photo below, one batch I mixed was thinner, so you can still see some of the wood grain. The corners are the trickiest part, after one coat, mine were either naked or super thick.
Another note I learned - I wish I had collected several containers for the plaster, so I could clean between coats, instead of cleaning after each batch (mixed about three per coat). You MUST clean the entire container each time you mix more plaster, other wise you will start getting hard chunks as you spread.
I have also saved this tutorial in my Instagram story highlights, where I’m able to talk through it a little more. I suggest you check those out before tackling.
4. Once your entire table is covered with first coat, give it a good sand. Do you best to even it out. Texture is okay, but you don’t want really thick areas.
5. Repeat step 3 & 4 to add a second coat. When you mix the plaster for the second coat, it’s okay to make thinner than the first coat.
Below is a close up of the texture I was happy with. I tried my best to keep it similar to this look on the whole table.
6. Once the plaster has had a chance to dry, sand where necessary.
7. Apply a polyurethane coat. Use a foam brush to paint protective coat on plaster.
8. The first coat of polyurethane will get sucked in by the plaster so you will need to repeat step 7 to add a second coat of polyurethane.
Stand back and admire!
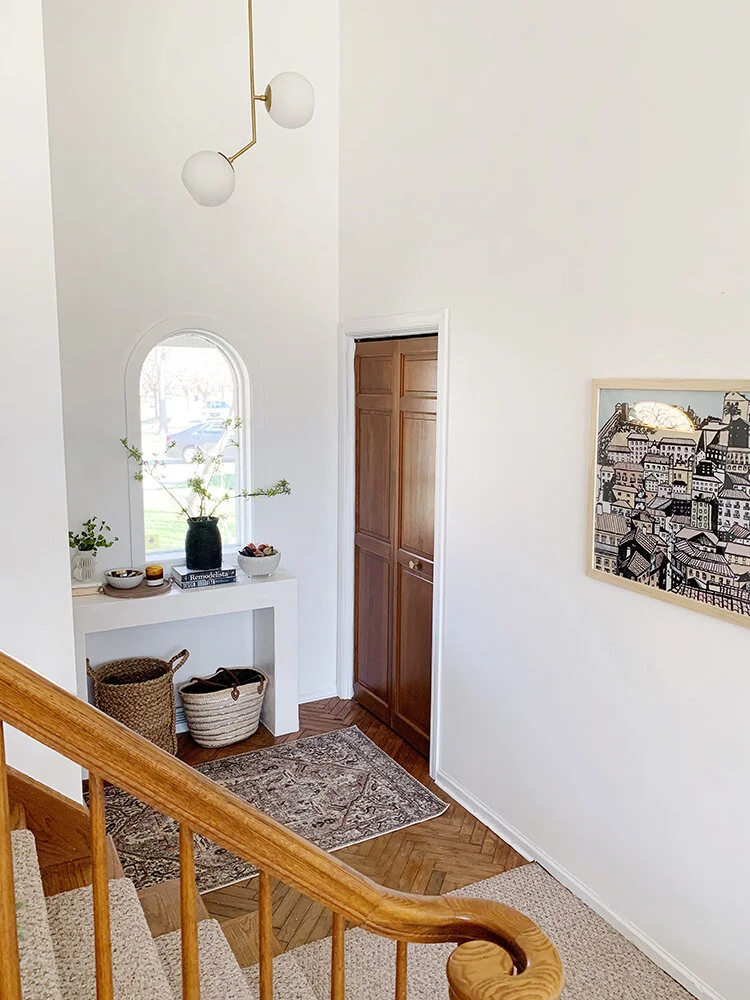
rug: Rugs USA / baskets: World Market / black vase: similar / small white vase: CB2 / pendant light: Wayfair
SHOP THE POST

