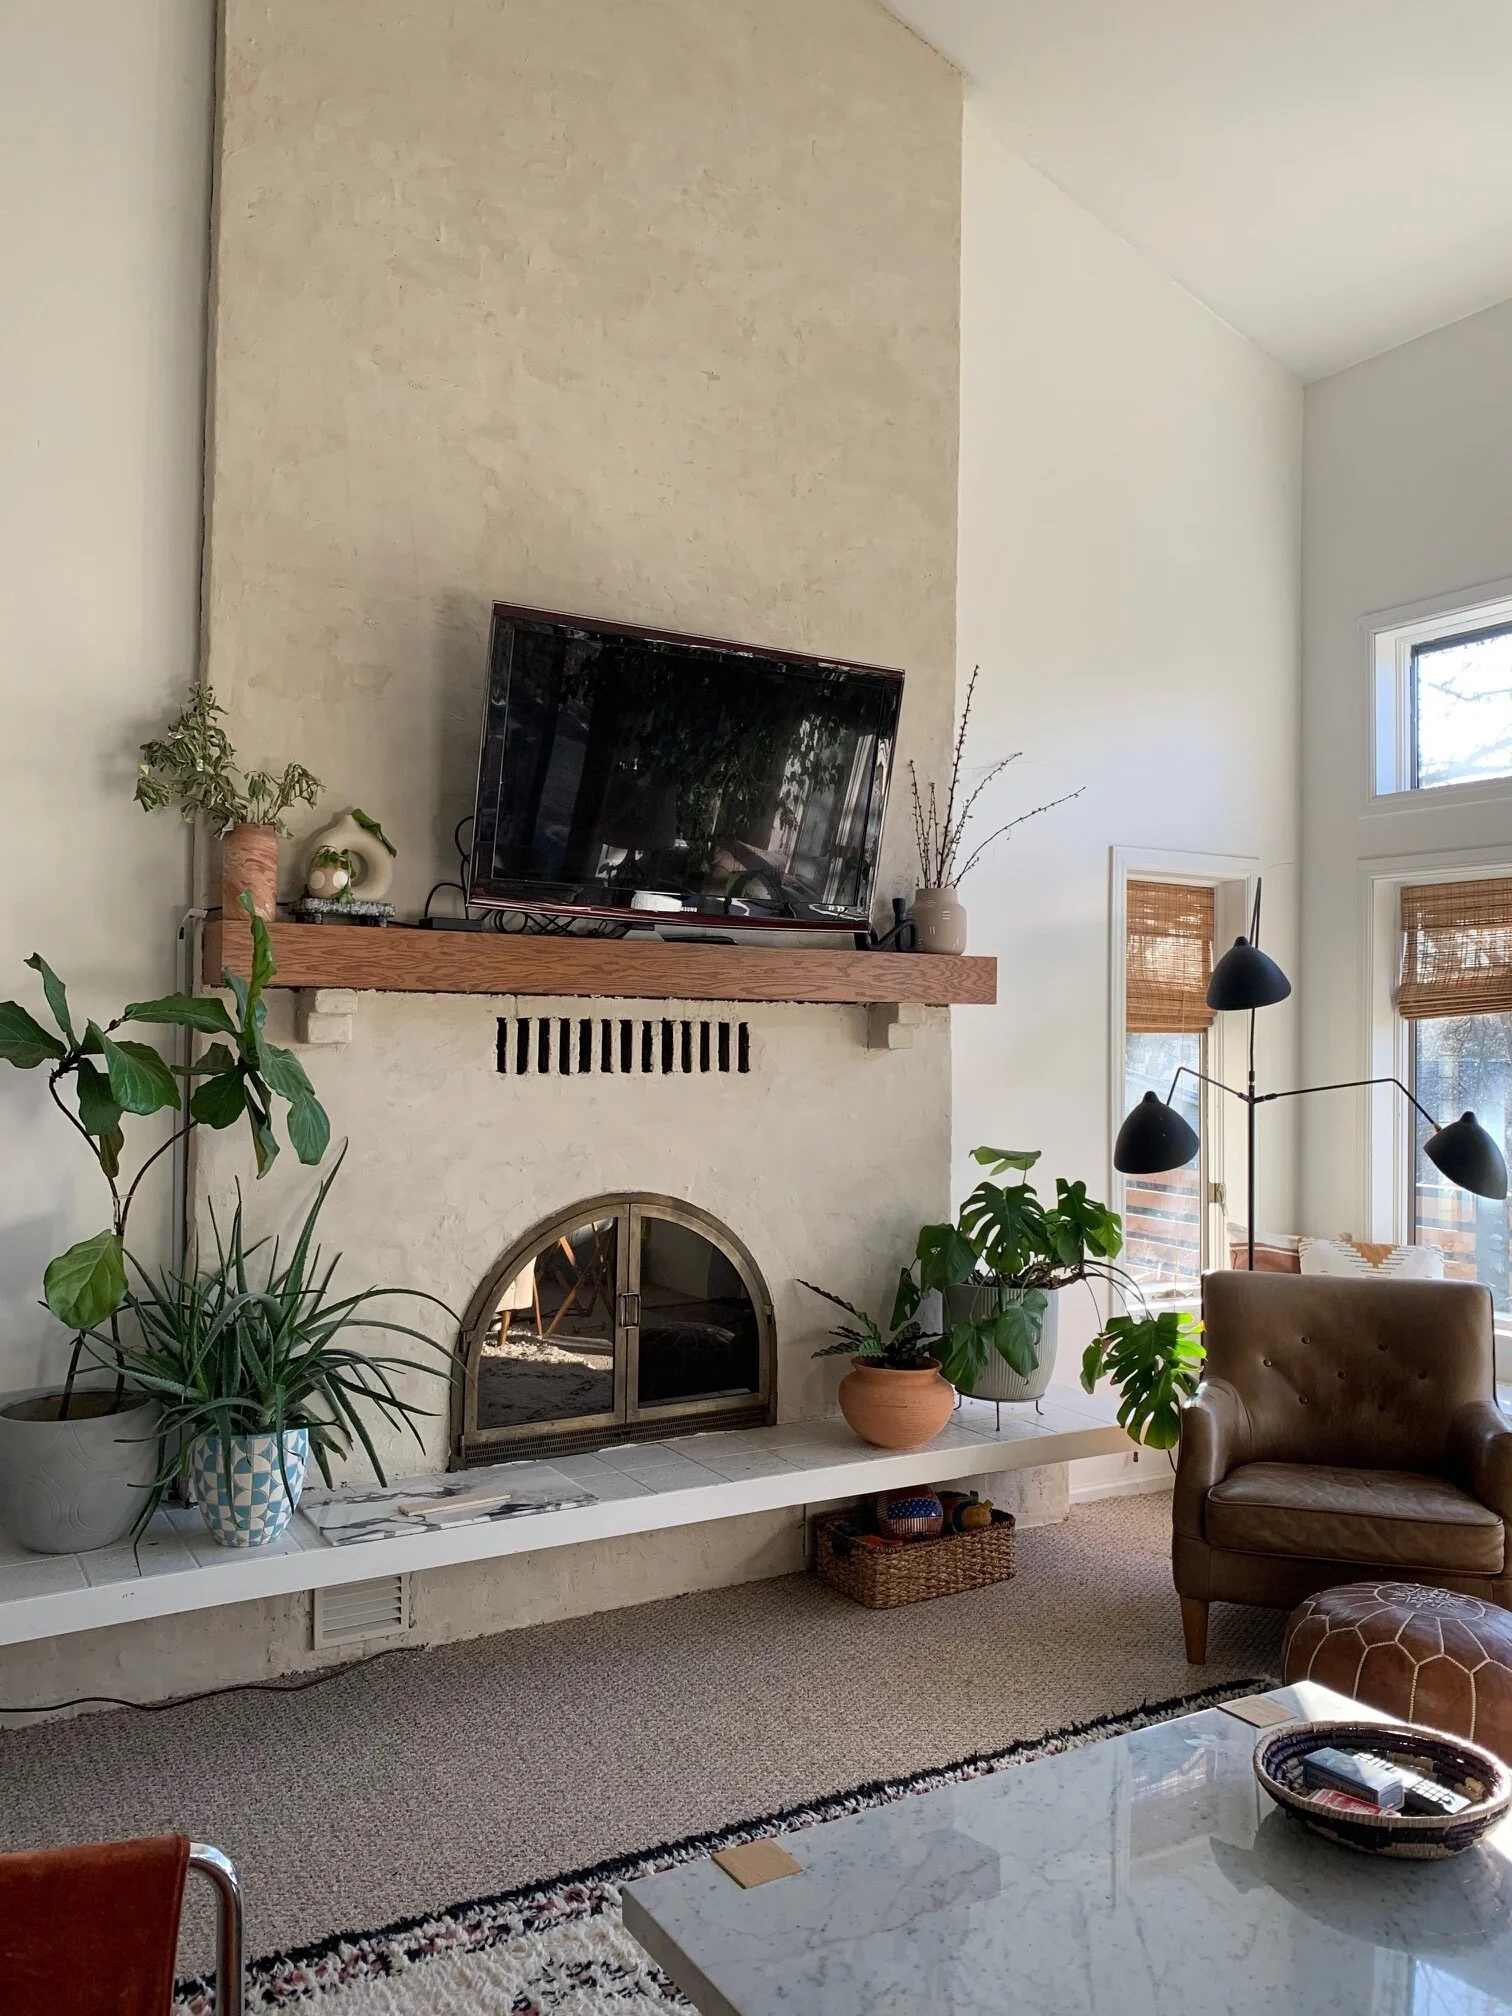
DIY Budget-Friendly Modern Fireplace Makeover
This project has been a long time coming. When we first moved into the house, I knew I wanted to do something to the fireplace, but, I didn’t really know what. I even bought masonry paint to paint the brick. Then my husband mounted the TV so fast I didn’t have time to execute. Flash forward to two and a half years. I searched and searched Pinterest for ideas on what I could do to a brick fireplace. I love the plaster looks out there, but was pretty stumped as to how to apply that to an existing brick fireplace. I looked into the over-grout technique I’ve seen some designers, like Chris Loves Julia, try, but that look didn’t seem quite right for my style. I loved some of the wash techniques I’ve seen Leanne Ford execute, but I wanted to hide to transform the brick a little more dramatically than her projects. After a lot of research, and stumbling upon this blog post, I finally settled on (and had the confidence to pull the trigger on) a grout skim coat.
This post is going to be part one of two, as I still plan on updated the hearth which is just white painted terracotta tiles. Still debating with myself on which direction to go for that.
The look I was going for was to mostly conceal the brick, but not to try to make it completely smooth. I think I hit the nail on the head.
BEFORE
AFTER
I started by testing out the technique and grout color on these brick samples. I tested out Snow White from Home Depot, but I was going for a little more contrast with the walls (Polar Bear by Behr), so I ended up with Biscuit from Lowe’s. You can also see I mixed the lighter color thicker than the darker.
SUPPLIES
Sanded grout I used about 5 bags of Biscuit
drill with mix bit
plastic for protection
Next I prepped the space. It gets really messy, so you’ll need tape off and add plastic to protect anything you don’t want to get dirty.
Use a mixing drill bit to mix the grout. The ratio was somewhere between 1/2 and 1/3 bag of grout to a quart of water, consistency about the same as buttercream frosting.
Here is my set up. I had three buckets, one with the grout, two with water. The water got dirty quickly, so I found it helpful to have a second bucket of water. Also, want to note that when you mix the grout using your mixer drill bit, have the bucket of water on hand so you can quickly rinse the tool.
After I applied the entire bucket of gout I mixed (1/3 bag) I would go over it with the wet sponge and smooth it out.
The first pass I was going for full coverage on the bricks and filling in the gaps between the bricks, but not perfection.
After I finished the first coat, there were some spots that weren’t as full-coverage as I wanted, so I went back and did a quick second coat focusing on smoothing the grout. Be sure you smooth the grout out to your linking. as you go. This was a huge project, but the few spots that stood out and I didn’t go back and fix still bother me.
The corners and edges were definitely the trickiest parts. This is what the corner looked like after the first coat. I ended up using my hands to apply the grout to areas like this that needed more precision application.
You can see in the image below how difficult it is to get the grout into al the little crevasses. I plan to go back and some of these spots up.
I have a whole highlight reel there on my instagram, @laurenkostercreative, to help you along with video.
What do you think? Would you try this? Please tag @laurenkostercreative if you try it!
SHOP THE SUPPLIES


