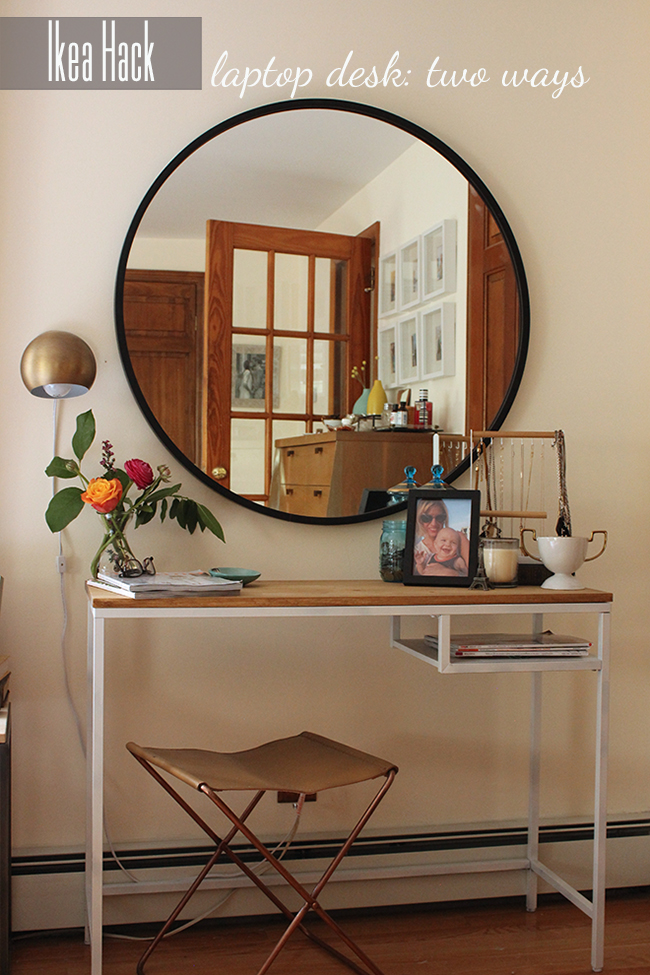
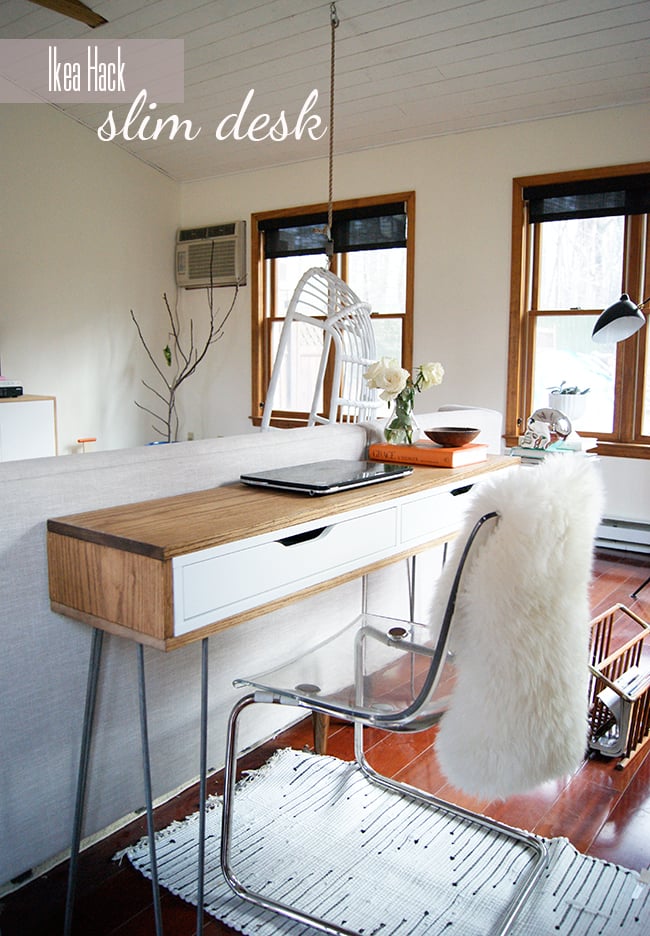
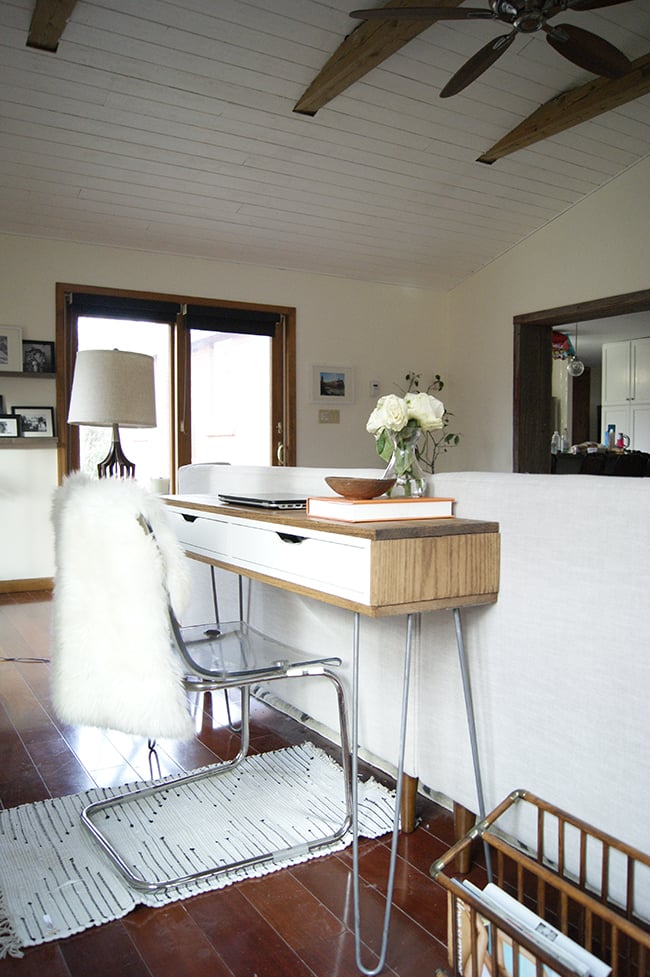
Ikea Hack // Slim Desk
Oh yeah! I am so excited to share the first of several Ikea Hacks I've completed in the new house. And this one is my favorite too! My husband, Kyle, works from home. He blogs for The Big Lead, and often has to be in front of the TV for work. At our old place, he had a desk, but when you sat there, there was no view of the TV, so he didn't use it all that often and usually opted for the coach instead. When we moved into this house, with the big living room, I knew I wanted to give him a nice, comfortable place to work, I planed to put a desk behind the sofa, since there is room and it is the perfect spot for him sit. There is space behind the sofa, but not too much space, so I had to get creative to find the perfect piece. So creative, that I just ended up making it, using an Ikea Ekby Alex Shelf.
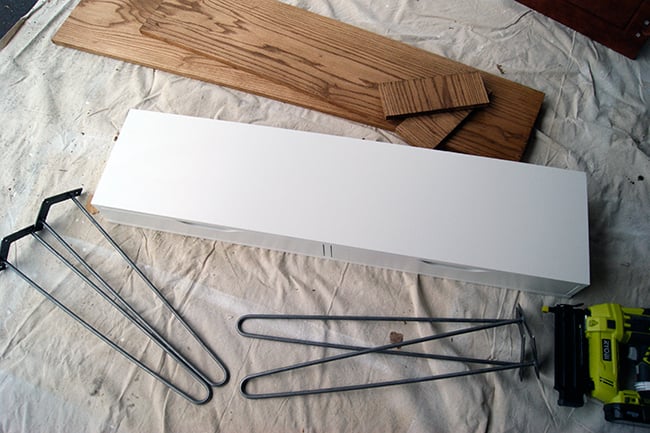
Supplies:
2 boards 48 3/8"L x 11 3/8" W x 3/4"D
2 boards 4 1/2"L x 11 3/8"W x 3/4"D
Stain - I used Minwax Mission Oak in Gloss
brad nailer and 1" nails
A few notes on the boards. 1" x 12" is a standard board width, which is actually 3/4" x 11", so it's actually 3/8" shy of ideal width for this project. I went with it anyway, because I knew this was backing up to a soft surface, however a perfectionist would probably want to get it cut exactly with the measurements I give above. Additionally, my main reason for this hack was to create a slim desk to fit in the small space I needed it for, but secondly, I was hoping to save a few bucks and I would have, but I unknowingly bought oak for the wood. While very beautiful, Oak is much more expensive and is sold by the foot. If I had it to do over again, I would have bought a wider piece of pine and had it ripped (cut length wise) to 11 3/8"
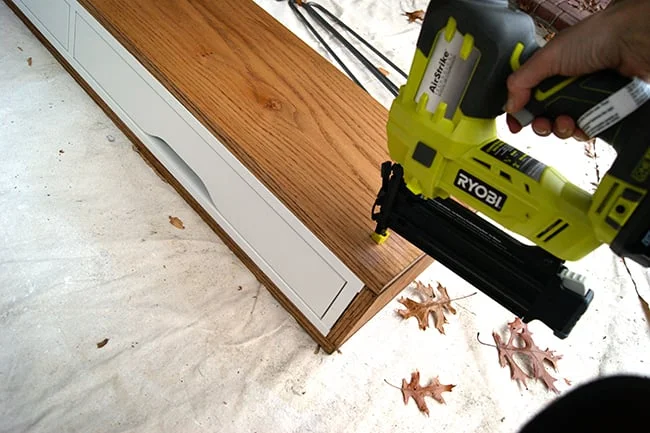
I had them cut my boards at Home Depot, so I sanded the edges and was ready to pre-stain and stain.

Once stained and dried, I used the brad nailer to attach it to the shelf

And finally, drilled the legs to the bottom, flip it right side up and voila, your finished!
SHOP THE POST