One Room Challenge Week 2 // Subway Tile Layout
Week 2 of the One Room Challenge, and unfortunately no actual work has been done. If you missed Week 1, I am renovating my kid’s bathroom. All of my tile and supplies have arrived, but struggling to line up a plumber. This is why I attempt to DIY everything in my house. The waiting game is not for me. Not to mention the price tag! I got a quote a few months back. The plumber game back with a very reasonable price and now that it’s time to actually hire and do the job, he informed me that he just moved out of town. I called in a second quote and it came back at four times the price! Four times!!! Needless to say, there will be a third quote. I already have one job where I bang down the doors of vendors, don’t think I’m cut out to take a second gig as a general contractor.
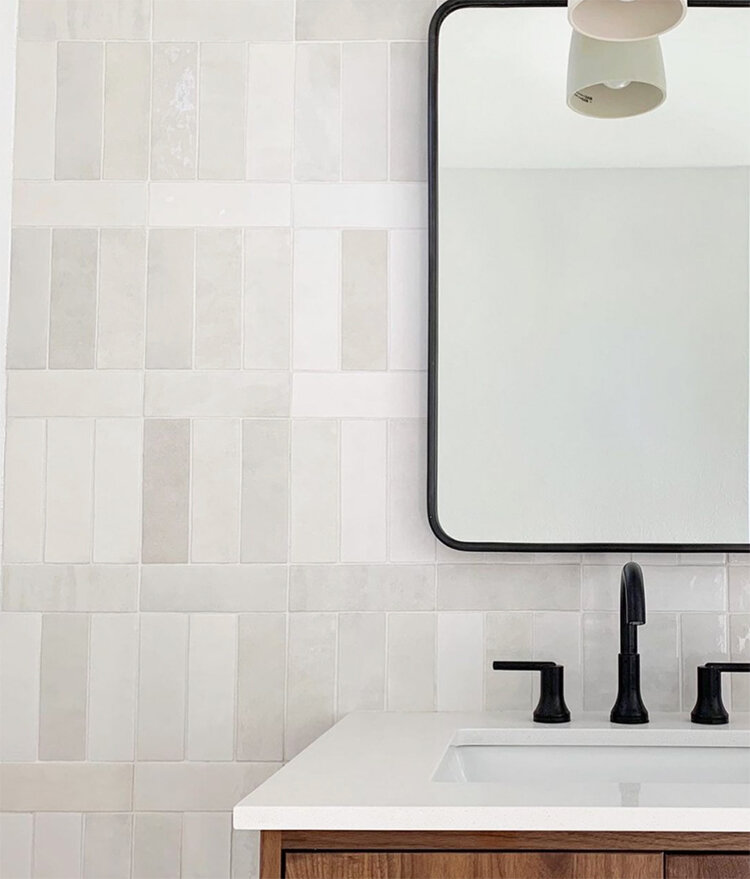
While I’m still undecided on plumbers, I have made almost all of the design decisions, check out the plan here. There are just a few hanging question marks. One of the big ones is the subway tile layout. I sourced classic matte white subway tile in an updated size, 2 inch x 8 inch. I originally planned on doing a basket weave pattern, but because the tiles are exactly 2 inch x 8 inch they won’t work as a basket weave with grout lines. I want something more out of the box than a straight stack or a traditional brick pattern. I have been playing around with a few other layout options. Which is your favorite?
HORIZONTAL STRAIGHT STACKED
BASKET WEAVE
OFFSET VERTICAL
2/3 SKEWED VERTICAL STACK
DIRECTIONAL STRIPE PATTERN
ALTERNATING DIRECTIONS
Don’t forget to check out all the the other fabulous ORC participants.


