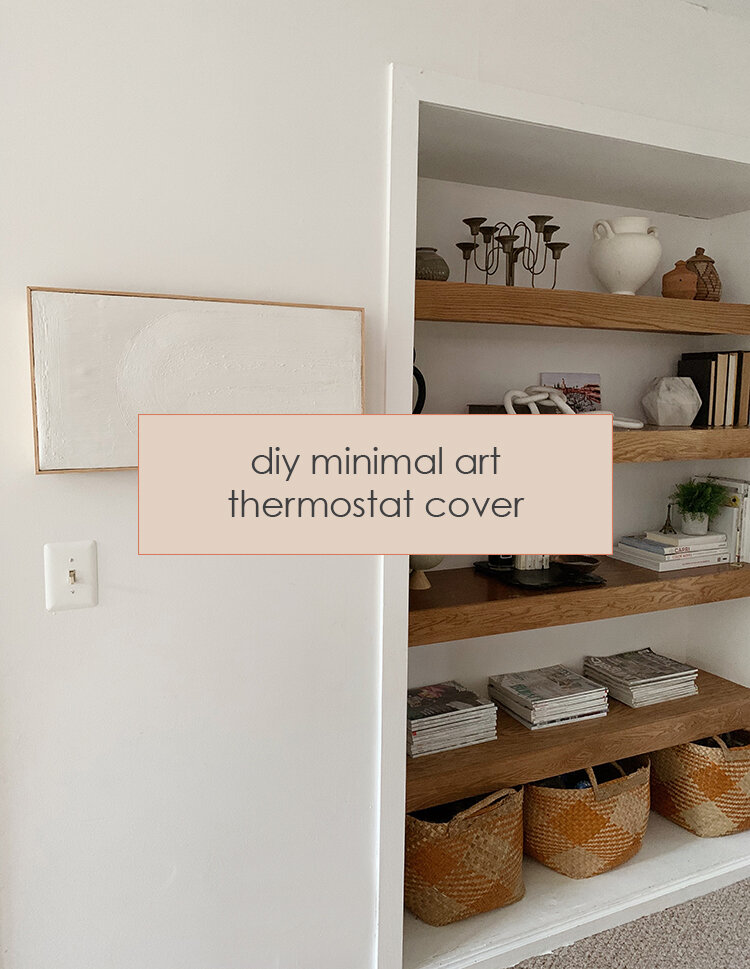
DIY Modern Art Thermostat Cover
I redid these shelves as the very first project when we moved into our house, but the terrible yellowish, ancient thermostat always bugged me and I had to crop it or photoshop it out of every photo. I finally decided that it needed an update. I will replace it with a more modern and probably more efficient model, but for now, the budget solution. I had most of the supplies on hand from recent projects, so it only cost me about $15, but to purchase all the supplies it would be a whole lot more than that. And a solution to the worst eyesore in the whole room is a game changer.
The minimal art was inspired by This Minimal House and the thermostat cover tutorial is from Cass Makes. Here is how I combined the two tutorials to create my thermostat solution. You can also find a video tutorial in my highlights on Instagram.
SUPPLIES:
1x2s - enough for the canvas perimeter
comb or other object for making texture
2 x 3/8” moulding
drill + screws
BUILD THE FRAME
For my project my canvas needed to be a very specific size for the space and height of my thermostat, so I had to build my canvas. You may be able to buy a canvas from a craft store if your space has more flexibility. Cut the 1x2s to the size needed for the canvas. Use the brad nailer to connect at corners.
STRETCH THE CANVAS
Cut the canvas drop cloth larger than the frame. Wrap canvas around frame, stretch tight and staple.
MIX PLASTER
Plaster should be mixed to about the consistency of thick pancake batter. You want to be able to spread with a paint brush. Have extra water near by because plaster dries very quickly and if you are not happy with the texture, you can use water to rewet as you go.
PAINT ON THE PLASTER
Paint on a base layer of plaster, covering the entire canvas to the edges. Add a second layer to texturize. I used a comb to add texture.
FRAME THE CANVAS
Once dry, build the frame for the canvas. Use 2” x 3/8” trim. I mitered the corners, but that extra step isn’t necessary. I used the brad nailer to connect directly to the canvas. This isn’t the ideal method, as you can see the nails, but I didn’t have the patience to glue the corners and wait for them to dry.
HANG ART
Now you’re ready to hang! Cut 1x2s slightly smaller than the height of the canvas. Screw them into the wall at a slightly smaller width than the canvas, about 1/2” tighter total. These 1x2s will keep canvas away from the wall slightly so the thermostat can breathe. It will also hinge the canvas to allow it to open and close for easy access to thermostat.
First attach hinges and magnetic closure to the the boards on the wall
HANG CANVAS
Attach canvas to the hinges and add other side of closure to the canvas.


