One Room Challenge Week 2 // Removing The Drop Ceiling
I wish I had more pretty to show you this week, but the basement is a construction zone. Thankfully we are on the other side of demolition mountain. In case you missed week 1, I am participating in my forth One Room Challenge. I am tackling my basement, which started as a big, empty box and I am upgrading to a modern, relaxed family space. You can see my plans here. And please follow along in real time on Instagram. Because this is an awesome community event, check out all the other room transformations here.
I quickly discovered that there are some realities of trying to tackle a big DIY project as a new mom. Mainly I am attached to my baby, can’t really find a flow. I feed Monroe, set up, start painting or working and time seems to move ridiculously fast, and before I know it I have to change my clothes and feed the baby again. Normally I would put in several hours, a couple days a week while Ollie is at school, then go hard for a couple hours after bedtime and also on the weekend. But in this current season, I have been waking up early and putting in an hour while everyone is sleeping, possibly squeeze in an hour or two during a day, but way too tired to continue post bedtime. Things are moving along, just very slowly, and since my time is so limited I don’t feel like I’m able to take a day off.
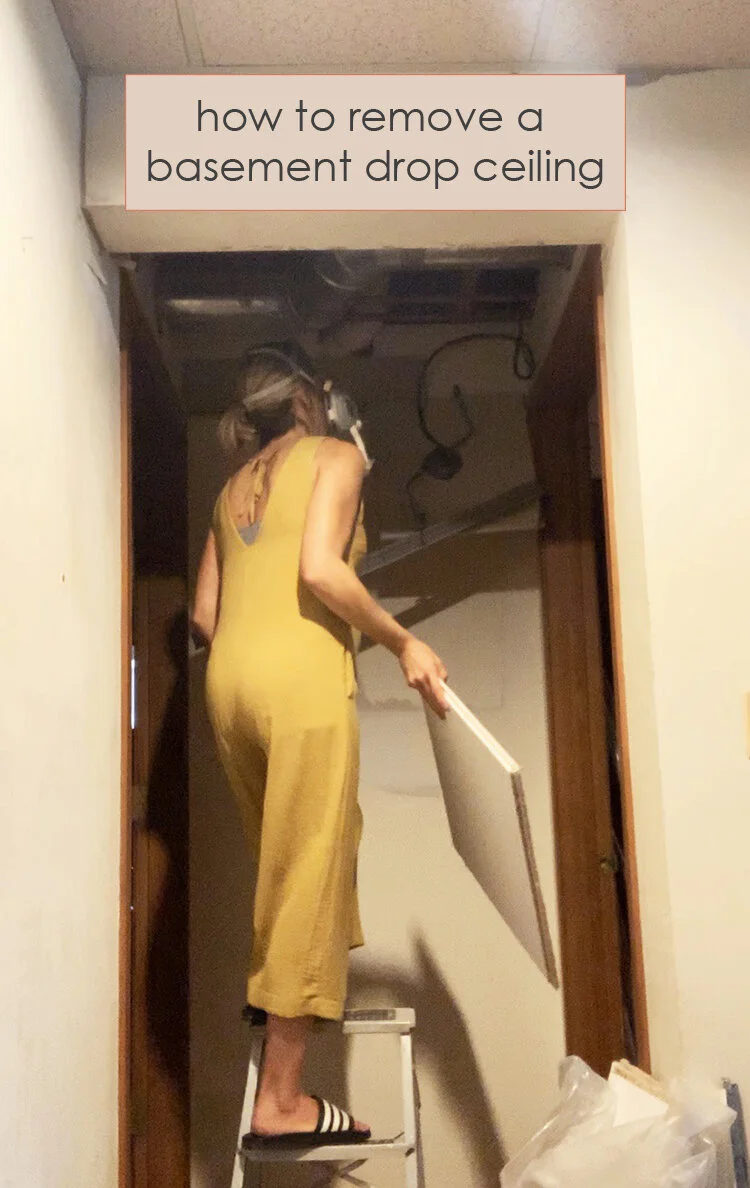
Now that all my excuses are out of the way, he’s what I have tackled so far. I tore down the drop ceiling tiles, the insulation and the drop ceiling frame and have started painting. Since I didn’t find much info on how to remove the drop ceiling tiles and paint, it was a little bit of trial and error. The first few tiles I removed were a little trickier, but sever were removed it was much easier and smoother to remove the tiles without breaking them in to a million little pieces. Speaking of breaking into a million little pieces, I wore a mask because I didn’t know the exact content of my tiles.
Once the actual tiles were out, I moved on to removing the insulation. I should note that if I had more help, I would advise to removing the drop ceiling frame next, but the recessed lighting was being held up by ceiling tiles, so I had leave them in place until my brother could come help me out with the electrical business. If I knew exactly what I was doing I would have removed the tiles, then swap out the lights, then remove the frame, next the insulation, and finally begin painting.
In my situation, I removed the ceiling tiles, then tackled the insulation next. I did a little research on removing fiberglass insulation. There were differing opinions on the dangers, and some recommended spraying exposed fiberglass with hairspray before pulling down. I did not end up doing that, but I did wear a mask, gloves and change my clothes right after working. I carefully pulled down each piece and put it directly into a garbage bag.
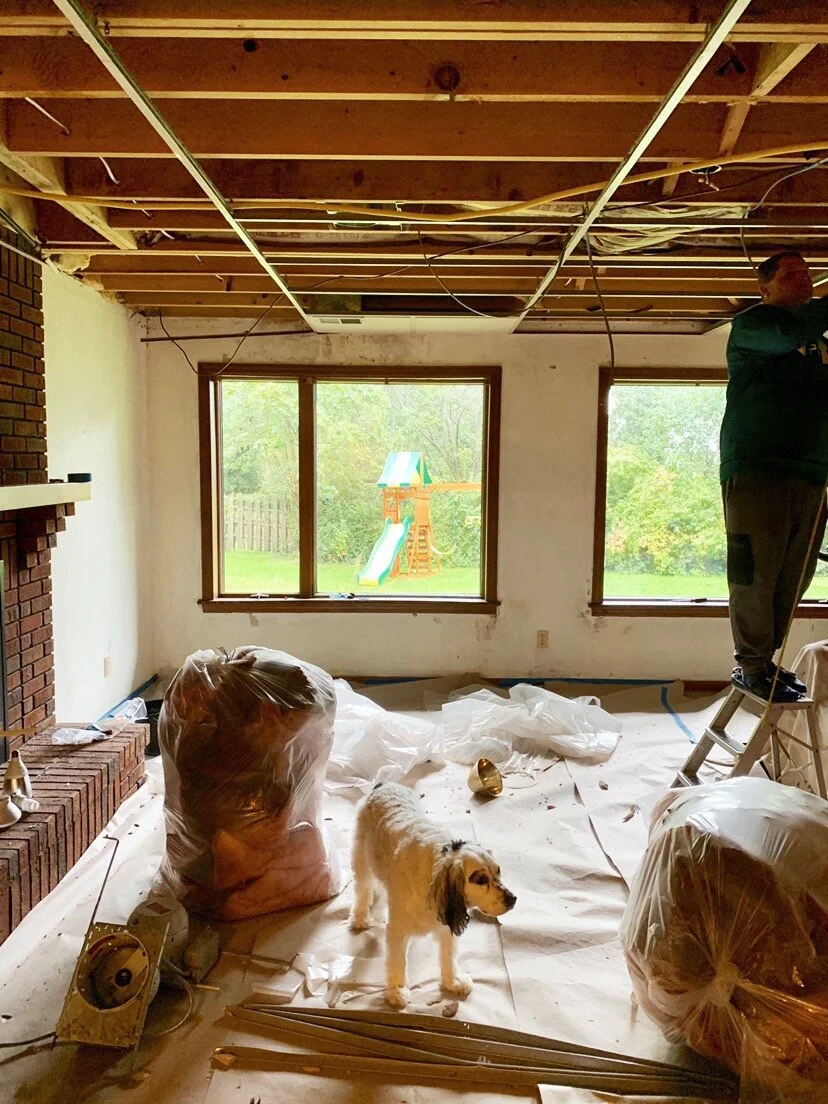


My brother also helped me tear down the drop ceiling frame. I have no tips on this, this was a straight up demo, ripping metal down from the ceiling. Then I had to pry the wall pieces off the wall which were attached with finishing nails. Once all the trash was cleared out, I was finally ready to start painting.
So far I have a coat primer on the ceiling. I started using my paint sprayer, which really came in handy for my sunroom makeover, but it wasn’t getting the job done. It’s heavy and clunky and was not giving me the output I wanted. So I grabbed a roller and brush. I plan to use the sprayer on the areas with pipes and wires, but the roller and brush seemed to be more effective and efficient for the moment. I am painting the ceiling and walls with Polar Bear by Behr.
What is still left to do?
paint walls
second coat on the ceiling
paint the fireplace
remove the floor covering and clean the carpet
create art
assemble Ikea furniture
paint built in shelving
organize toys
decorate


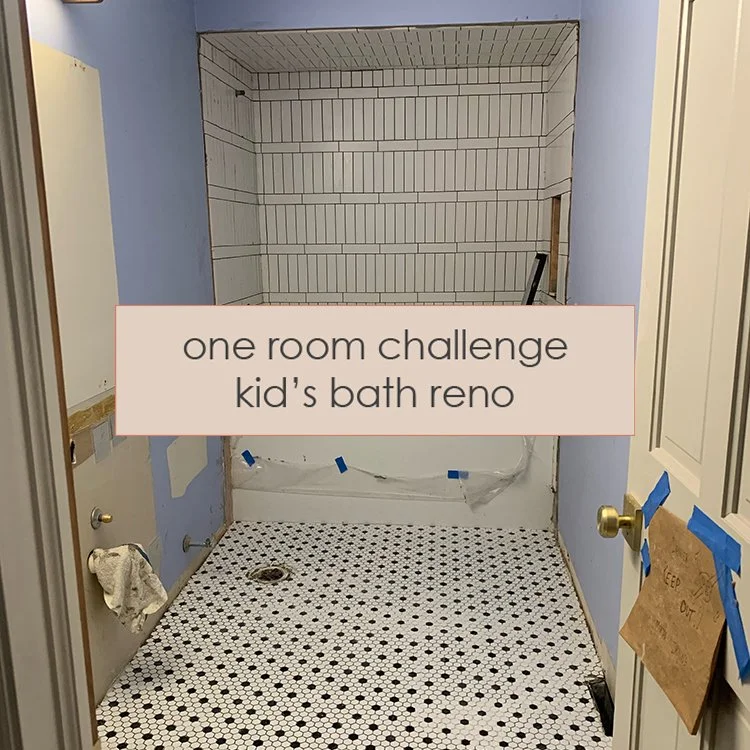

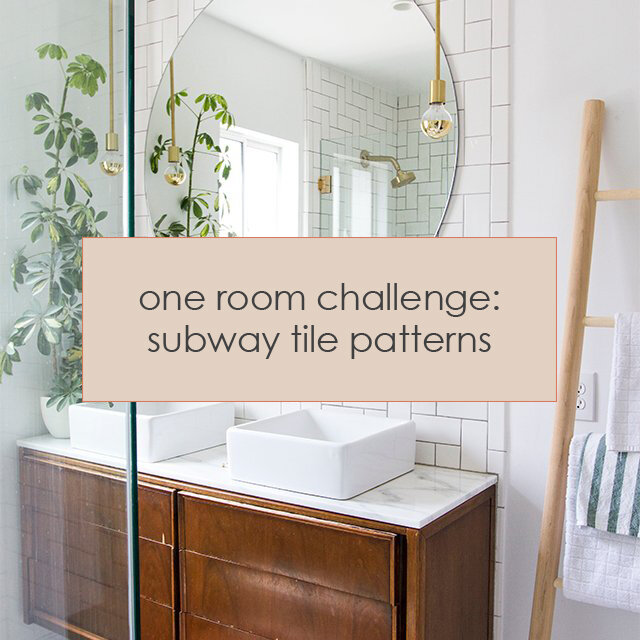


We made it! Another One Room Challenge in the books! I am just so happy with how this bright and modern kids bath turned out! Started from a dated 80’s bathroom with a blue formica countertop and carpet and gave her a major glow-up in the form of a complete renovation. Now - classic selections with a special layer to make it a happy, updated space for my kiddos.