How To Stencil Tile
Thank you guys for all the positive feedback for our powder room reveal! We are so happy to have her back in working order and even happier that she looks so cute!! You guys spoke and you LOVE the stenciled tile. I am there with you!! My original plan was to rip the floor out and retile, but since the tile continues into the kitchen, and it was out of the question to do the entire floor, I had to come up with a plan B. I know several trusted DIY friends who have tackled a stenciling project, one of my favorite DIY Instagramers @SherylSandersDesigns and Restyle It Wright for her One Room Challenge a few years back, and both turned out fantastic!
I researched stencil choices back when I was exploring my options for my sunroom. So once I decided I was going to stencil, I knew exactly which pattern I was going to pick. Cutting Edge Stencils (and great tips and resources) has so many choices, but I only had eyes for Nola.

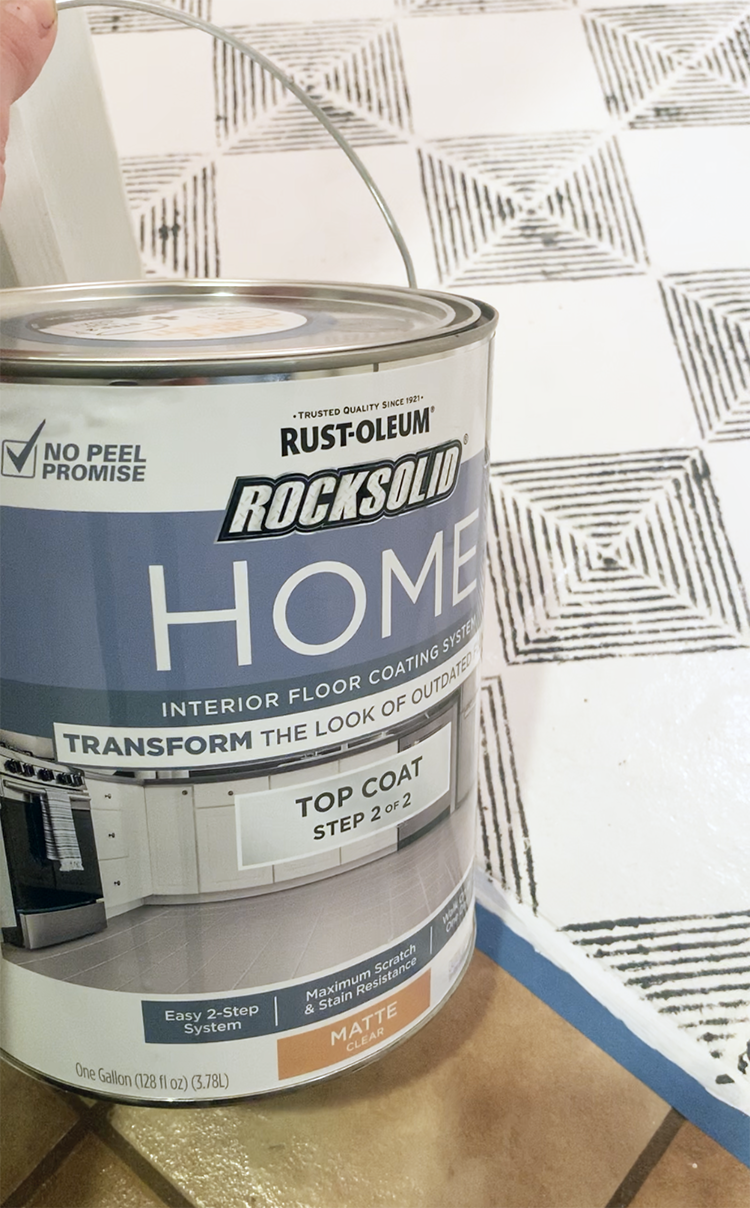
Next I had to choose the paint. I talked to both of the DIY friends I mentioned above. One used porch and floor paint and the other used regular wall paint, both with a polyurethane layer on top. I went to Home Depot to check out and asses my paint options. As much as I wanted to go with the budget option, I ultimately opted for the fancier, new product by Rust-oleum. I have used their products on my garage floor, as well as another tile paint project at my old house, and this bathroom gets a lot of use and traffic, so I didn’t want to skimp.

SUPPLIES:
Cutting Edge Stencil - Nola
Rust-oleum Base Coat (I used white color)
Rust-oleum Top Coat (I used the matte finish)

STEP 1: Use the foam roller to roller on the base coat. The white took two coats.

STEP 2: Once dry, use the stencil brush to lightly pat on the contrast color. The look I got was definitely more hand-made and not super clean. I first tried a foam brush and got way too much bleed. I quickly learned that less paint worked better. For better results. I very lightly put the contrast paint on the brush and dabbed it onto the stencil. You can see below what it looked like where it bled.

STEP 3: Once dry, use a tack cloth to clean off the floor. I skipped this step, but definitely advise not to.
STEP 4: Use a clean foam roller to apply the top coat.
I am THRILLED with the results! Follow me on instagram, I will keep you updated with how it’s wearing.